

ATHENS HILLS CSA
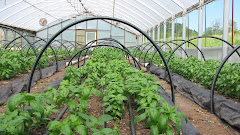
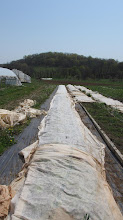
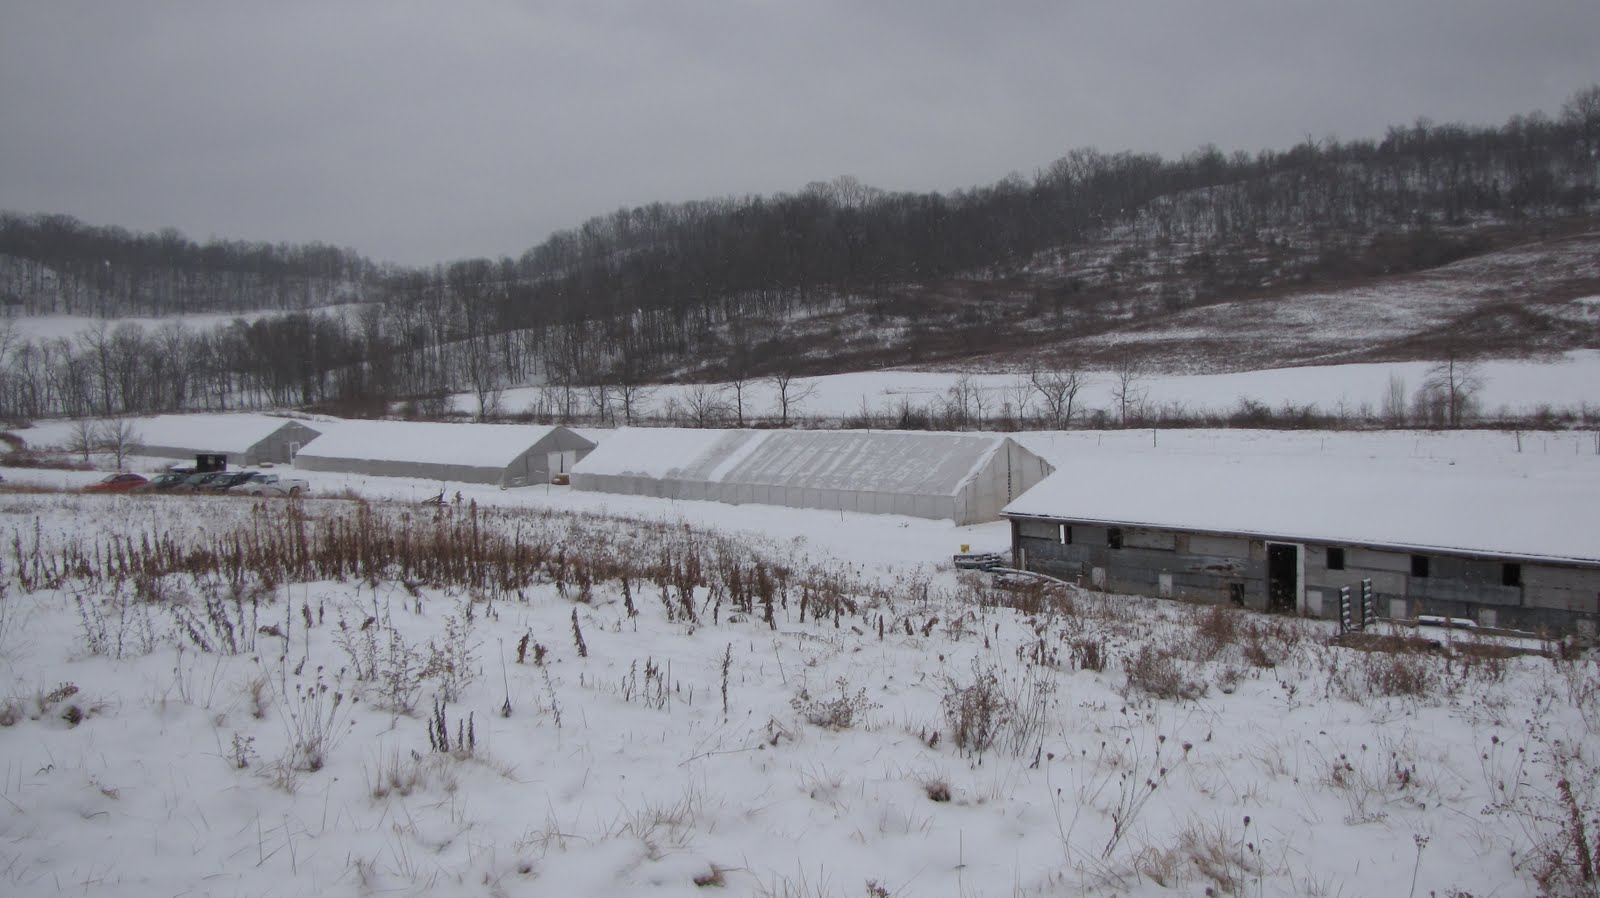
For the last several days, a group of student volunteers from Wright State University has joined us. This is the ‘service-learning’ part of their study of the socio-economics of Appalachia. In the last several years during the week of Spring Break, these students volunteer at several different venues around our area. Not all of the group comes at one time. Three different groups work three different days. And are we ever glad to have their help! They have assisted us in our efforts to prepare for your visit next Sunday at Open Farm Day. While we work, we talk with them about the local economy. From the packing room to the walk-in coolers, the greenhouses to the microhouse, we want all of the areas ‘neat and tidy’. It’s a sort of ‘spring cleaning’, and none too soon. Our preparations (except for the food – not quite time yet for that)) are progressing nicely. George used the skid loader to smooth the bottom farm road and spread gravel. He’s not done yet, and it’s already so much better! We still have to move the pile of mushroom blocks and we hope that it will stay dry enough to get that done before you visit this weekend. The wire/screw ties that hold the plastic sides open are in place on at least one side of the two houses built last fall, so ventilation is no longer a problem. With the temperatures rising weekly, it won’t be long before we unclamp the rods on the other side of all the houses.
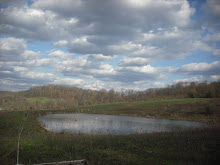
Even though I can now officially bid you a “Happy Spring”, the temperatures are already pushing towards early summer. Ticks and mosquitoes have already been sited, and in some cases felt. I’m sure they are out in other parts of the state too, not just picking on us…
We want to say thank you for your diligence with the return of the share delivery bags. Each week, we seem to have enough returned with several extras.
From all of us at Green Edge,
Becky (Kip, Dan, John, Rob, Theo, Penny, Diedra, Bethany, Alicia, and Liz)
THIS WEEK’S VEGGIES
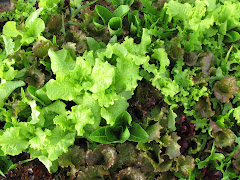
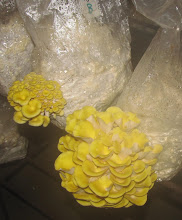
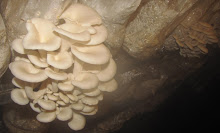
Salad Mix – In the mix this week are 7 varieties of lettuce. This mix is best stored in an air-tight container with some paper towel or cloth to absorb any extra drops of water that can form.Mushrooms - A WHOPPING 12oz. this week! To Store the extra, just keep them in the paper bag (closed tightly) in the crisper drawer of the refrigerator. They won’t mold then, they’ll just dry if you can’t use them all.
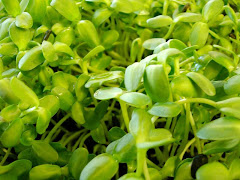
Sunflower/MicroMix Microgreens - We have been sending our MicroMix microgreens to different sites each week. We hope you have enjoyed this little change. Everyone will get them eventually. The mixed microgreens are spicier, more delicate, and probably won’t store quite as long. But they are certainly good!
Spinach –There’s a whole pound of spinach this week, so go crazy! This wonderful green is so versatile. Use it raw in a salad, or cooked in many different dishes.
Swiss Chard – We are very pleased to have this favorite return to the list for its mild flavor and versatility. It’s great steamed, stir-fried, braised, sautéed, or in soup.
Kale – One of the favorite greens we grow. We just never have enough of it for everyone. Like other greens, use it raw, sauté, in soups or stir-fry.
Green Onions - Our second week to include green onions (scallions to some.) These were planted many weeks ago, and have just recently ‘sized up ‘ for us to include with your share. They are a true harbinger of spring – just like crocus and daffodils. Check last week’s newsletter for lots of recipes for different uses of green onions.
The Combo Corner
The apple selections from Cherry Orchard this week include Gold Rush, Enterprise, and Cameo. The bread from The Village Bakery and Café is the French Galette. The cheese from Integration Acres is their lovely goat’s milk Feta Cheese. New kids (baby goats)started arriving last week and this cheese is made from that new fresh milk supply.
RECIPES
MUSHROOM TAPENADE
* 5 garlic cloves, thinly sliced
* 10 oz mushrooms, de- stemmed & sliced * 2/3 cup olive oil + extra for preserving
* ¼ cup fresh lemon juice
* 1½ tsp salt
* ½ tsp ground black pepper
* 1 tbs fresh tarragon leaves
* 10 oz mushrooms, de- stemmed & sliced * 2/3 cup olive oil + extra for preserving
* ¼ cup fresh lemon juice
* 1½ tsp salt
* ½ tsp ground black pepper
* 1 tbs fresh tarragon leaves
Method:
1.Heat 2 tbs oil in a medium frying pan over medium heat. Add garlic and cook, stirring occasionally, for 2-3 minutes or until light golden. Place into food processor bowl.
2. Add ¼ cup oil and mushrooms to the pan and cook, stirring often, over high heat for 5 minutes or until golden around the edges and tender. Remove and add to mushrooms in processor bowl. Add lemon juice, salt, pepper, tarragon and remaining oil to mushrooms. Process until mixture is finely chopped (do not puree).
3. Spoon into a medium sterilized jar. Drizzle with a thin layer of extra oil to completely cover tapenade. Place lid onto jar, cover jar with a tea-towel and set aside to cool completely before sealing.
Note: Store in the fridge, and use within 1 month. Serve tapenade with grilled sliced bagels, crispbreads or sliced baguette.~from www.moretomushrooms.com
Kale Chips
from www.pickyvegan.com
Directions: 1. Preheat oven to 350F.
2. Tear bite size pieces of kale from the stalk.
3. Wash and dry THROUGHLY.
4. Spray a cookie sheet with canola oil.
5. Add pieces of kale to the cookie sheet and spray kale with canola (or olive oil).
6. Sprinkle with sea salt.
7. Bake for 8 minutes. Remove quickly, or they will burn!
8. Eat.
For spraying with oil here, it’s important to be using actual oil, not something like Pam spray. I use canola oil in a Misto sprayer. These days they’re relatively inexpensive, and they work really well.
Baked Kale Chips
From www.smittenkitchen.com; Adapted from a bunch of inspiring places
Ingredients:
*1 bunch (about 6 ounces) kale (I used Lacinato or “Dinosaur” Kale but I understand that the curlier stuff works, too, possibly even better)
*1 tablespoon olive oil
*Sea salt, to taste
Directions:
Preheat oven to 300°F. Rinse and dry the kale, then remove the stems and tough center ribs. Cut into large pieces, toss with olive oil in a bowl then sprinkle with salt. Arrange leaves in a single layer on a large baking sheet (I needed two because mine are tiny; I also lined mine with parchment for easy clean-up but there’s no reason that you must). Bake for 20 minutes, or until crisp. Place baking sheet on a rack to cool. ED.'s Note: I’ve read about zillion recipes to find to one to make kale chips. Many refer back to a Martha Stewart one published last Halloween. Here’s what I know…too much oil makes them chewy and soggy. Nutritional yeast gives them that ‘cheese’ flavor. Some folks use a dehydrator at lower temps than the oven, making the chips still a ‘raw’ food. I think this is a food that requires some experimentation. They taste pretty good no matter the seasonings. Have fun trying!
Swiss Chard with Olives
Ingredients:
1 ounce pitted green olives (about 10 medium sized), roughly chopped or sliced
½ tsp. minced fresh rosemary
1 green onion or shallot, chopped
½ teaspoon capers
Olive oil
1 large bunch of Swiss chard, rinsed and patted dry
Freshly ground black pepper to taste
Directions:
1 . Mix together the olives, rosemary, green onion, and capers with a tablespoon of olive oil and let sit while you prep the chard.
2. Use a knife to cut along the edges of the main stem of each leaf of chard, remove the stems. Cut the stems into 1/2-inch slices and set aside. Cut the leaves separately into 1-inch thick crosswise ribbons. Keep the leaves and the stems separate, as you will be cooking them separately.
3.Heat a large, stick-free sauté pan on medium high heat. Coat the bottom of the pan with about a tablespoon of olive oil, just enough to coat. When the oil is hot, add the chard stems. Cook for a couple of minutes, stirring often, until they begin to soften. Then stir in the olive mixture. Cook for a minute more, then add the chopped chard leaves to the pan. Use tongs or two large spoons to toss the chard leaves in with the rest of the mixture, so that the chard gets coated with olive oil.
4.Cover the pan and reduce the heat to low. Let cook a few minutes, lift the cover every occasionally to turn the leaves over in the pan. Once the chard has all wilted, remove from heat. Sprinkle with black pepper to taste.
Yield:Serves 2-3. ~from www.simplyrecipes.com


No comments:
Post a Comment